

What are coil reservoirs? They are the best in 18th century technology. Based on the concept of liquid suspension, they add what is essentially a small pot of ink to the top of your dip pen nib. This is most useful in nibs with greater line variety, like vintage nibs or drawing nibs. While these will work with manga and napping nibs, the lack of line variation makes them less necessary to the function of your pen.
The Hunt 101 makes a variation that includes a coil cage housed under the nib. This is a coil reservoir, and perfectly serviceable if you are able to keep the belly of the nib up off the paper while you draw. I prefer attaching my own reservoir to the top of the pen because it gives me more options in the angle that I hold my pen, and therefore, the range of marks I can make. This DIY version will also allow you to attach the reservoir to any kind of nib.

Let’s start with what you will need to make one:
26 gauge steel wire (they can also be made with a thin paperclip, but the guage wire in clips are difficult to bend to shape and I suggest using a thimble if you are going to try that gauge of wire.)
Wire cutters (I have heavy duty wire cutters from my grandfather, but 26 guage wire could theoretically be cut with heavy steel scissors or light duty wire cutter.)
A mechanical pencil, brush end, or any instrument that comes to a tapered point. (I prefer the conical shape of a mechanical pencil.)
Masking tape
Okay… let’s make one of these things…
Step 1
Cut a length of wire and hold it firmly against the tip of the mechanical pencil. You will only be coiling about 1/2-1cm of coil, depending on the vent size of your nib. I tend to cut extra wire (approximately 10-15cm) to ensure I have enough for coiling.

Step 2
Using your other hand, wrap a tight coil (approximately 1/2-1cm) on the end of the tapered instrument. This will take practice, and it’s okay of the coil is a little loose the first time you make one. As long as the tines of the coil are not too far apart, it should still function properly.

Step 3
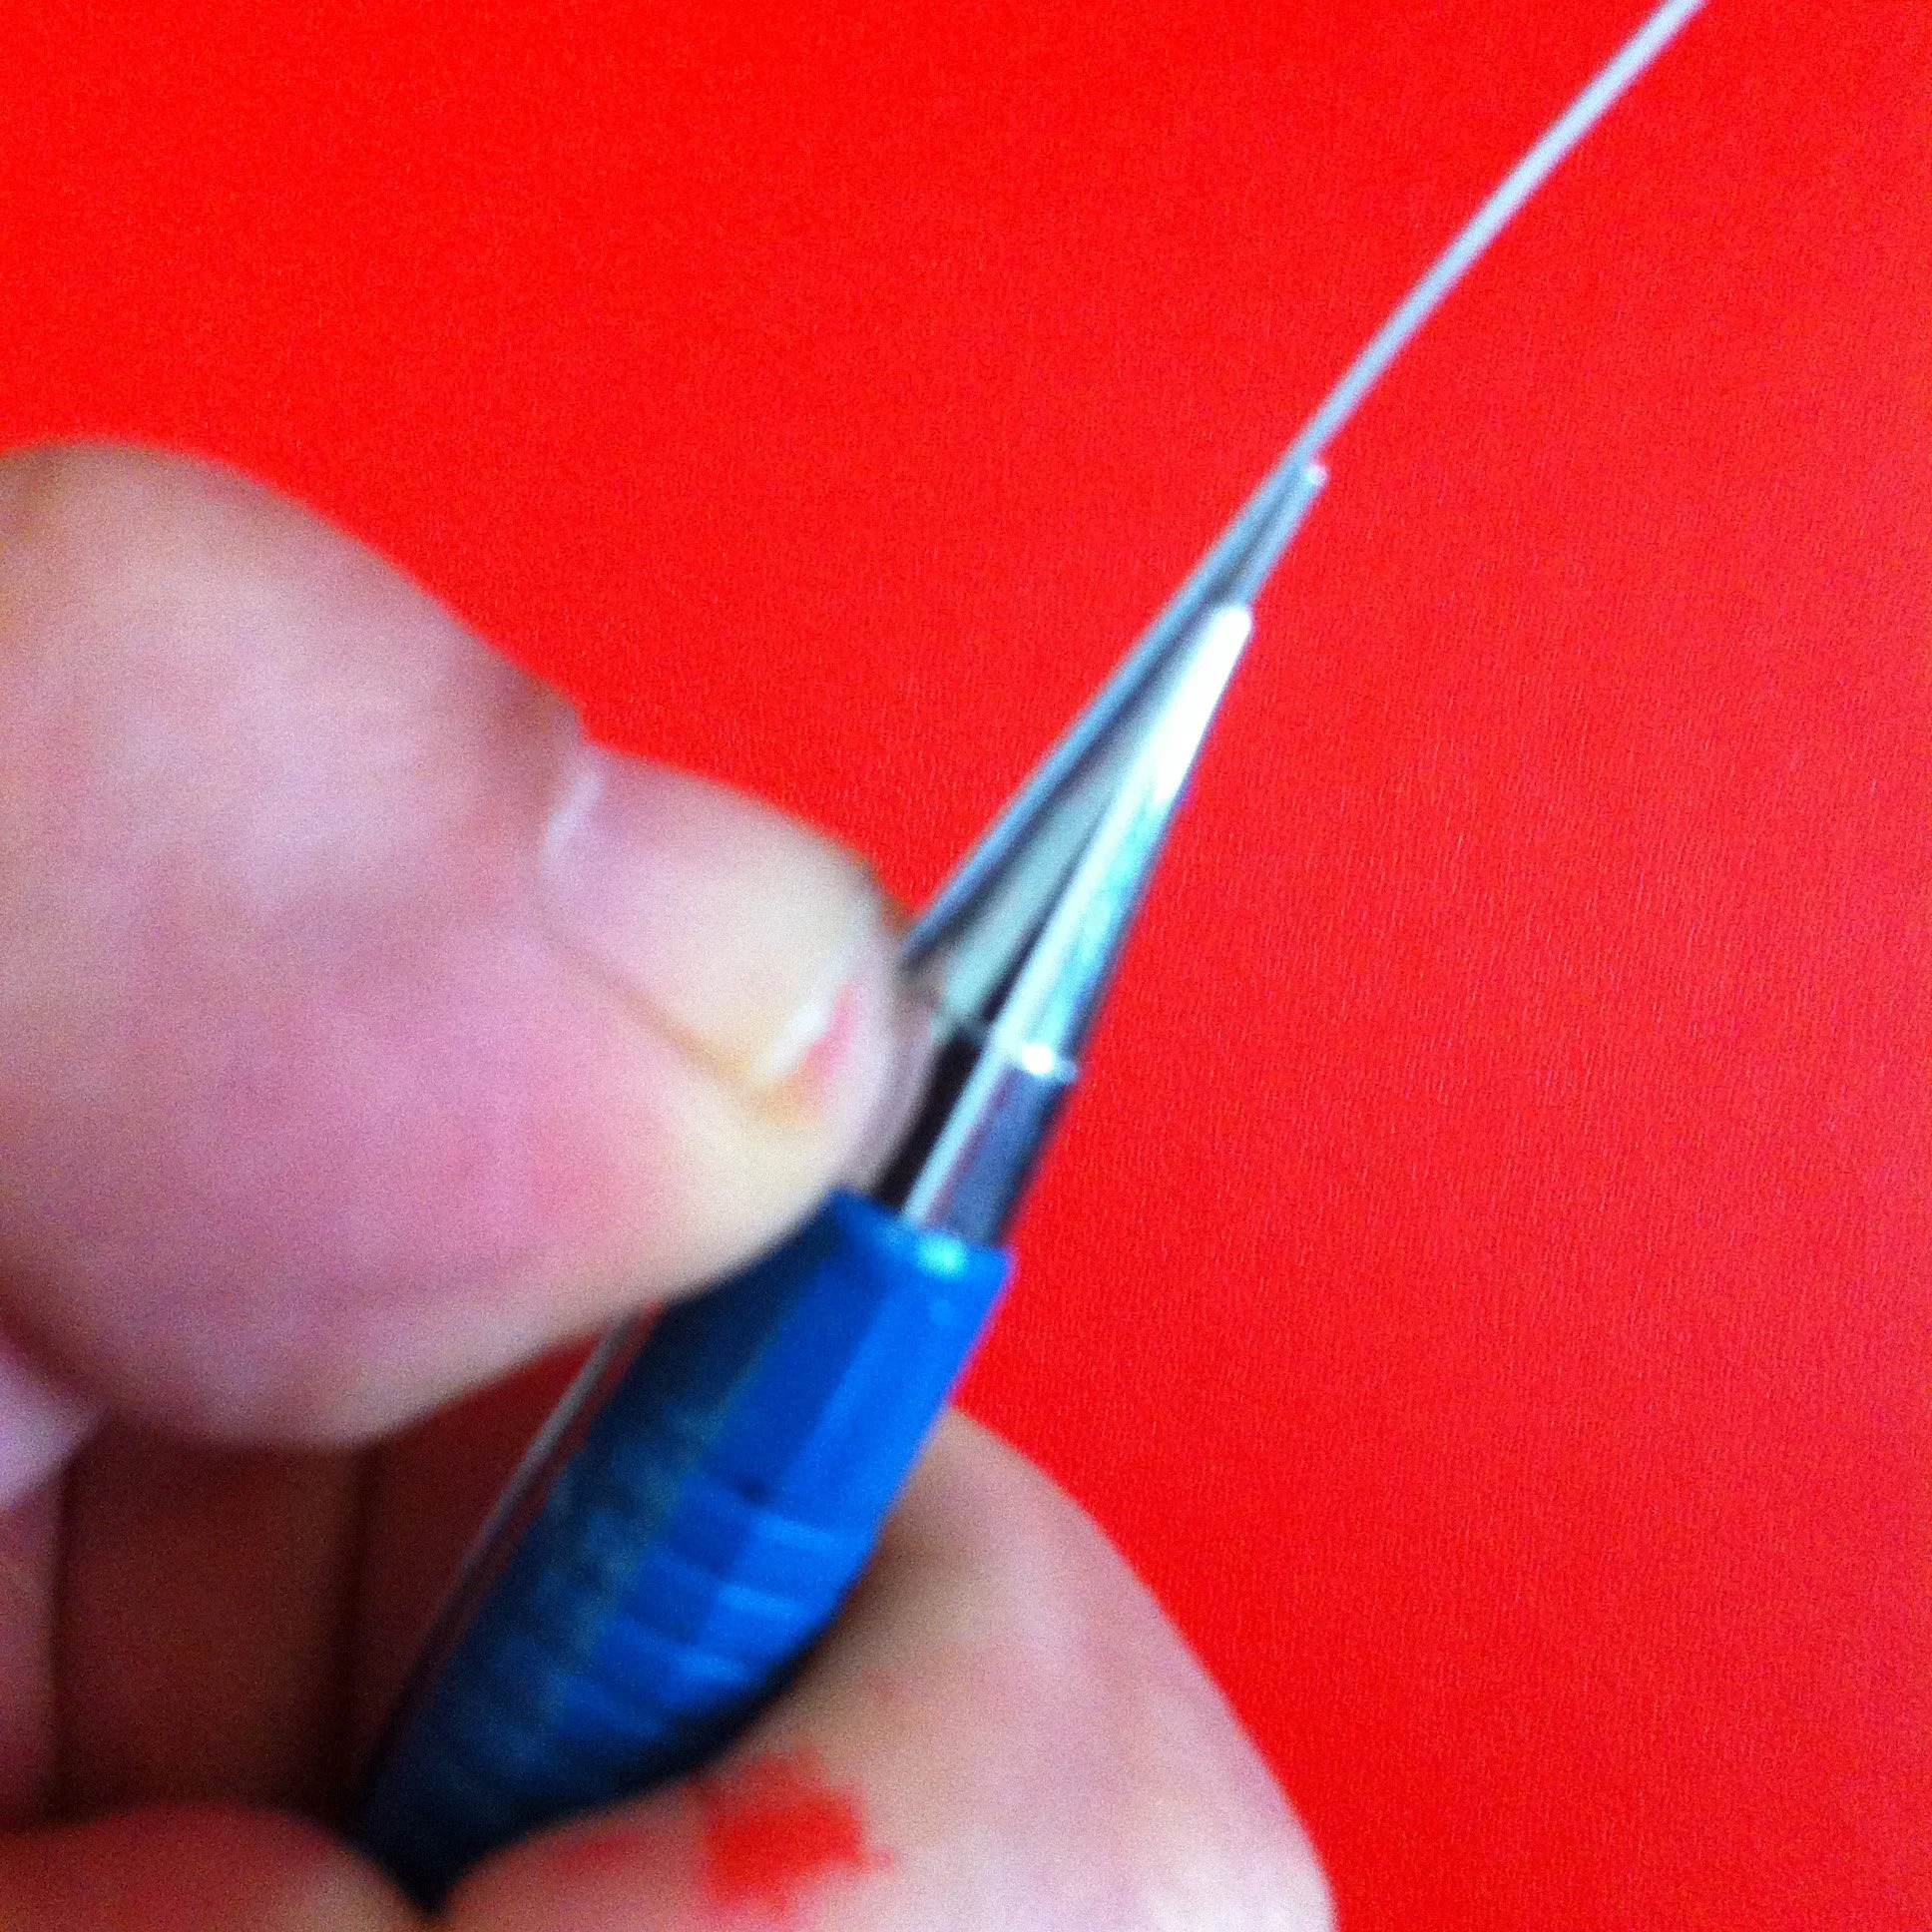
Pop the coil off of the instrument you used to form its shape, and cut the extra wire from the narrowest end. This will be the end that sits on the nib vent. Do not cut the wire on the other end unless it is obscenely long (more than 8 cm).

Step 4
Line up the coiled end so it rests gently against the top of the pen, just over the reservoir.

Step 5
Tape the coil reservoir in place. If necessary, bend the lead wire at the base of the coil so it rests on top of the nib correctly.

Dip pen with no coil reservoir.

Same nib with coil reservoir.
You will find a reservoir extends your ink flow significantly. In pen nibs that are softer and have a lot of bend, it allows you to use the full width of the pen with less railroading and ink dumping.
As with all tools and tricks, it may take some acclimating to become accustomed to a coil reservoir. It’s possible you may hate having a tiny coil on your pen, or you may love it. But if you do use one, feel pride in the fact you are using a technology almost as old as nibs themselves.
Happy drawing!